

How to create an API key for Claude / MCP
Generate an API key in Settings to drive your Botyoo workspace from Claude or any MCP client.
On this page
How to create an API key for Claude / MCP
Botyoo’s API key system is built for Claude and MCP (Model Context Protocol) clients. Connect a key and your AI assistant can read contacts, run campaigns, and create automations.
Step 1: Open Settings → API Keys
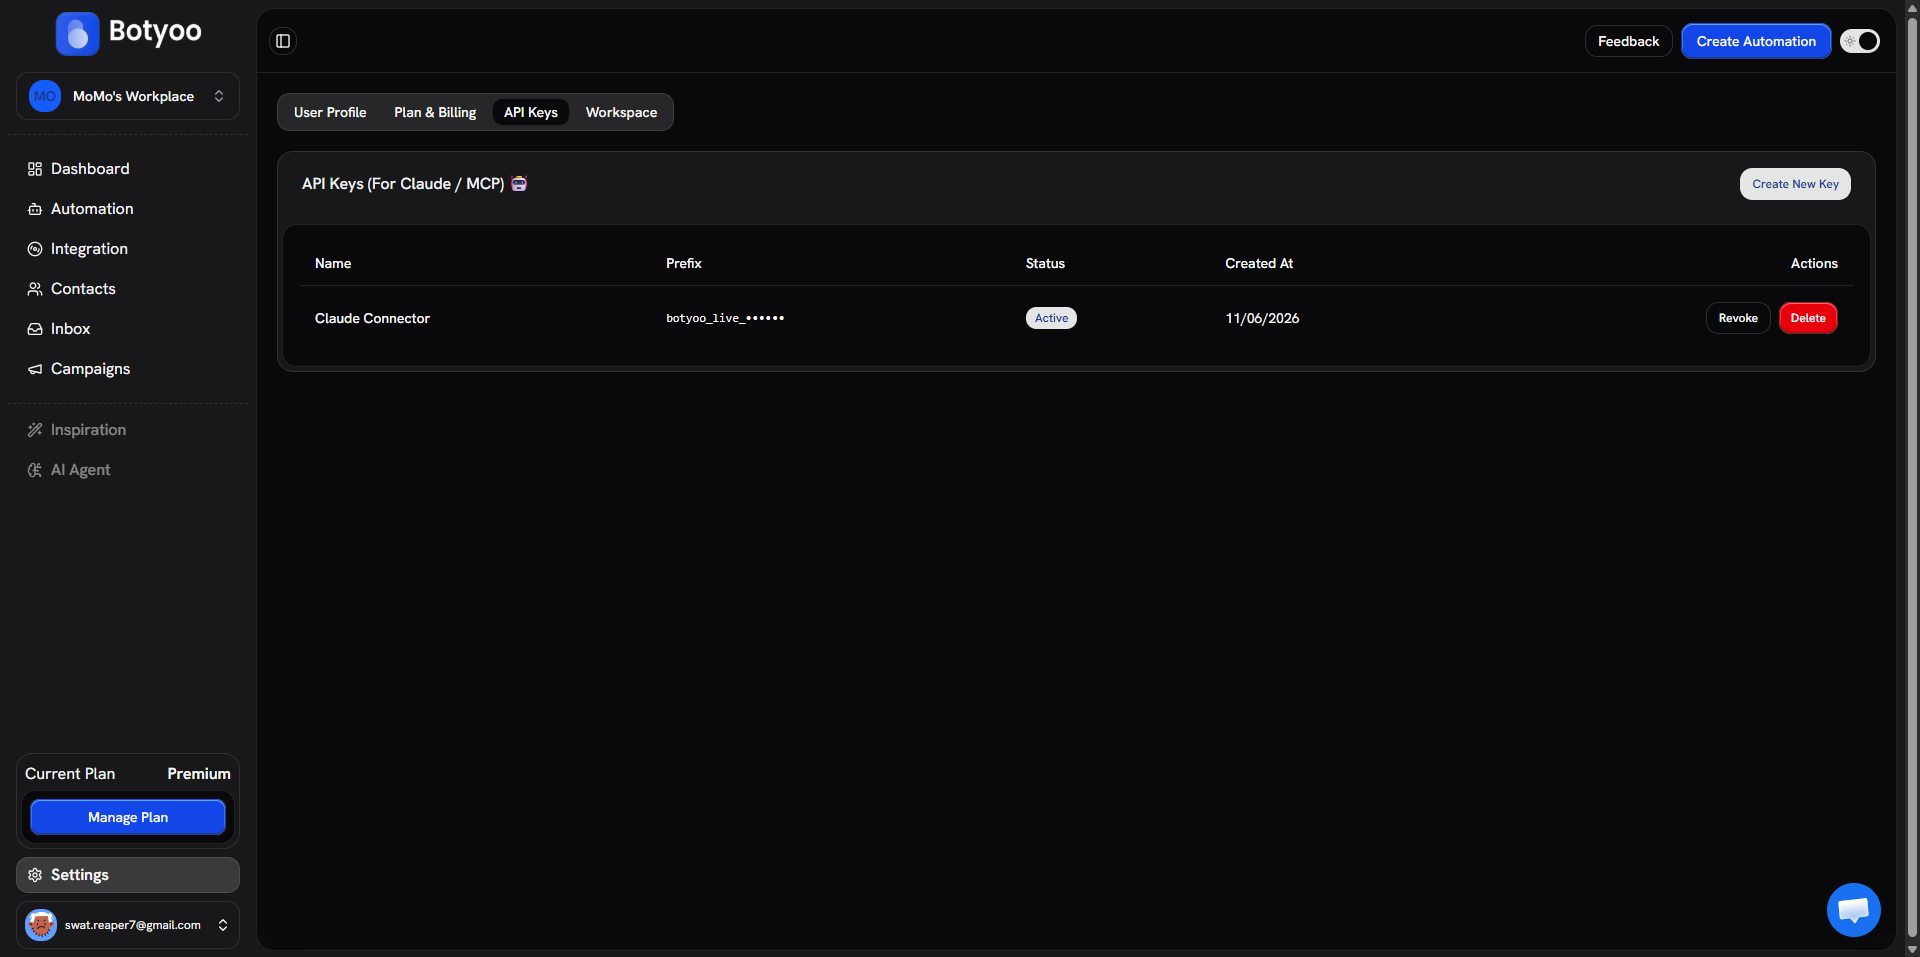
Click Settings at the bottom of the sidebar, then the API Keys tab.
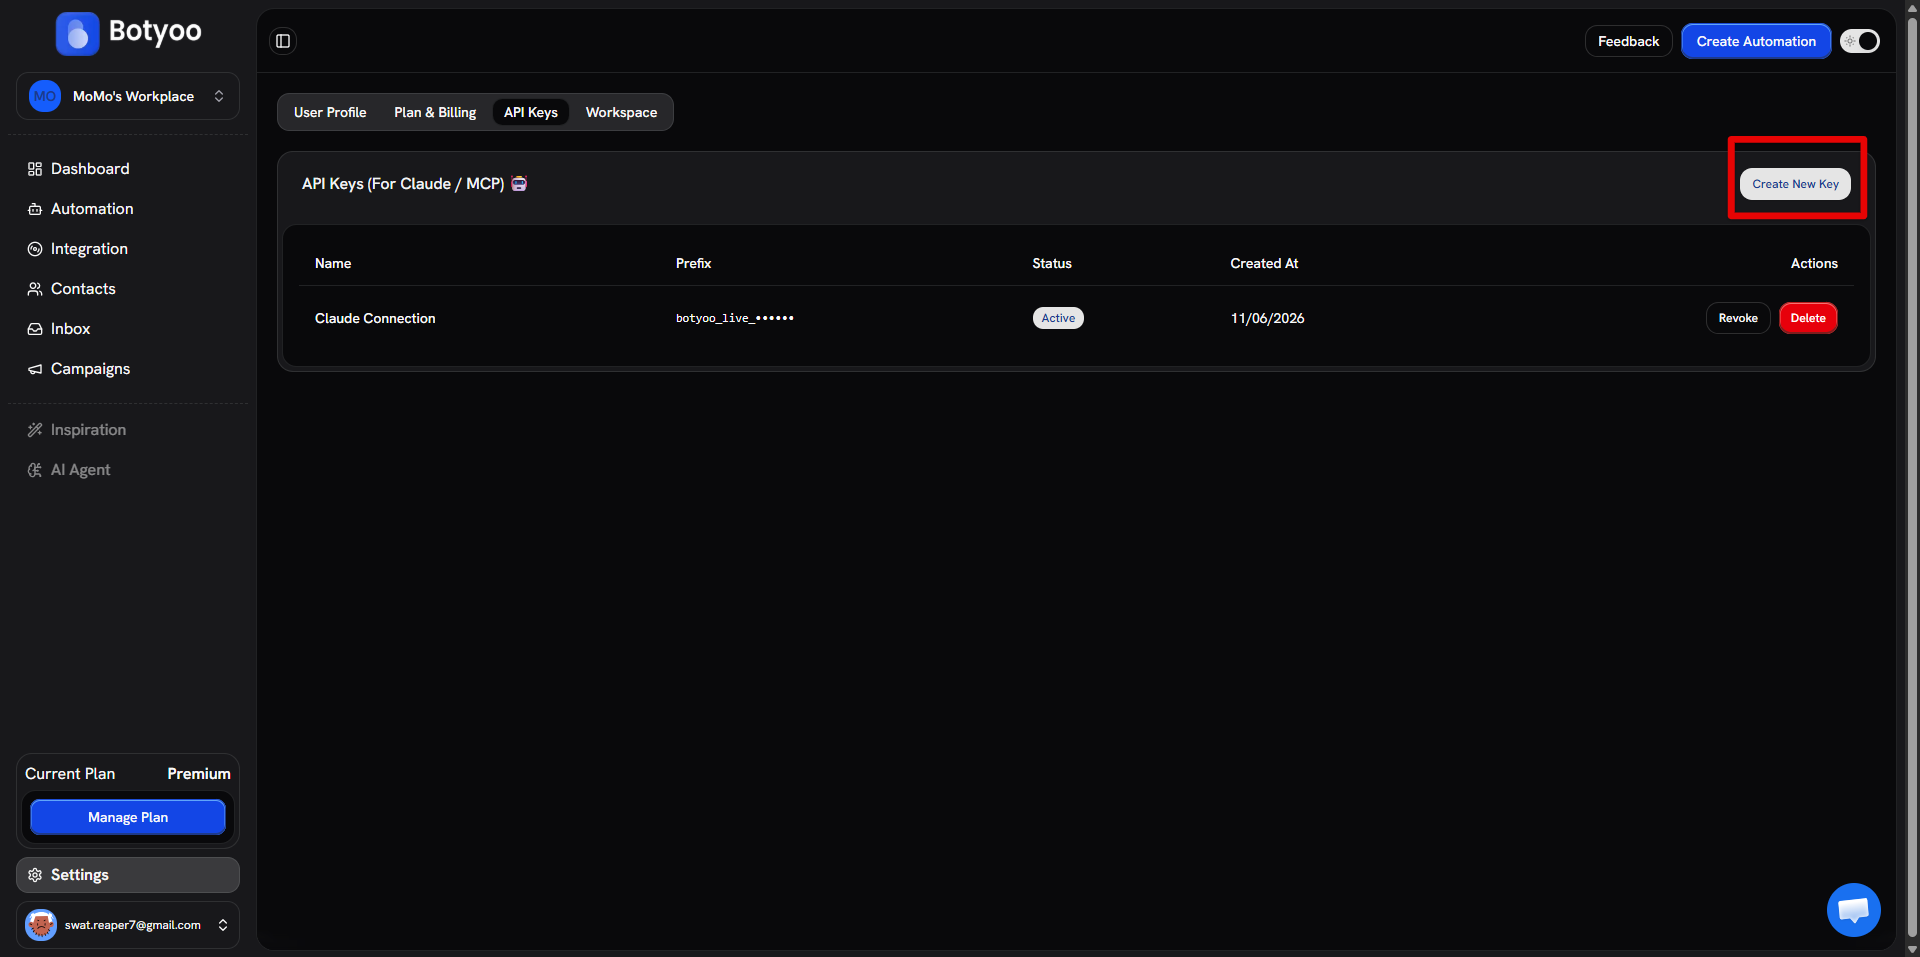
Step 2: Click Create New Key
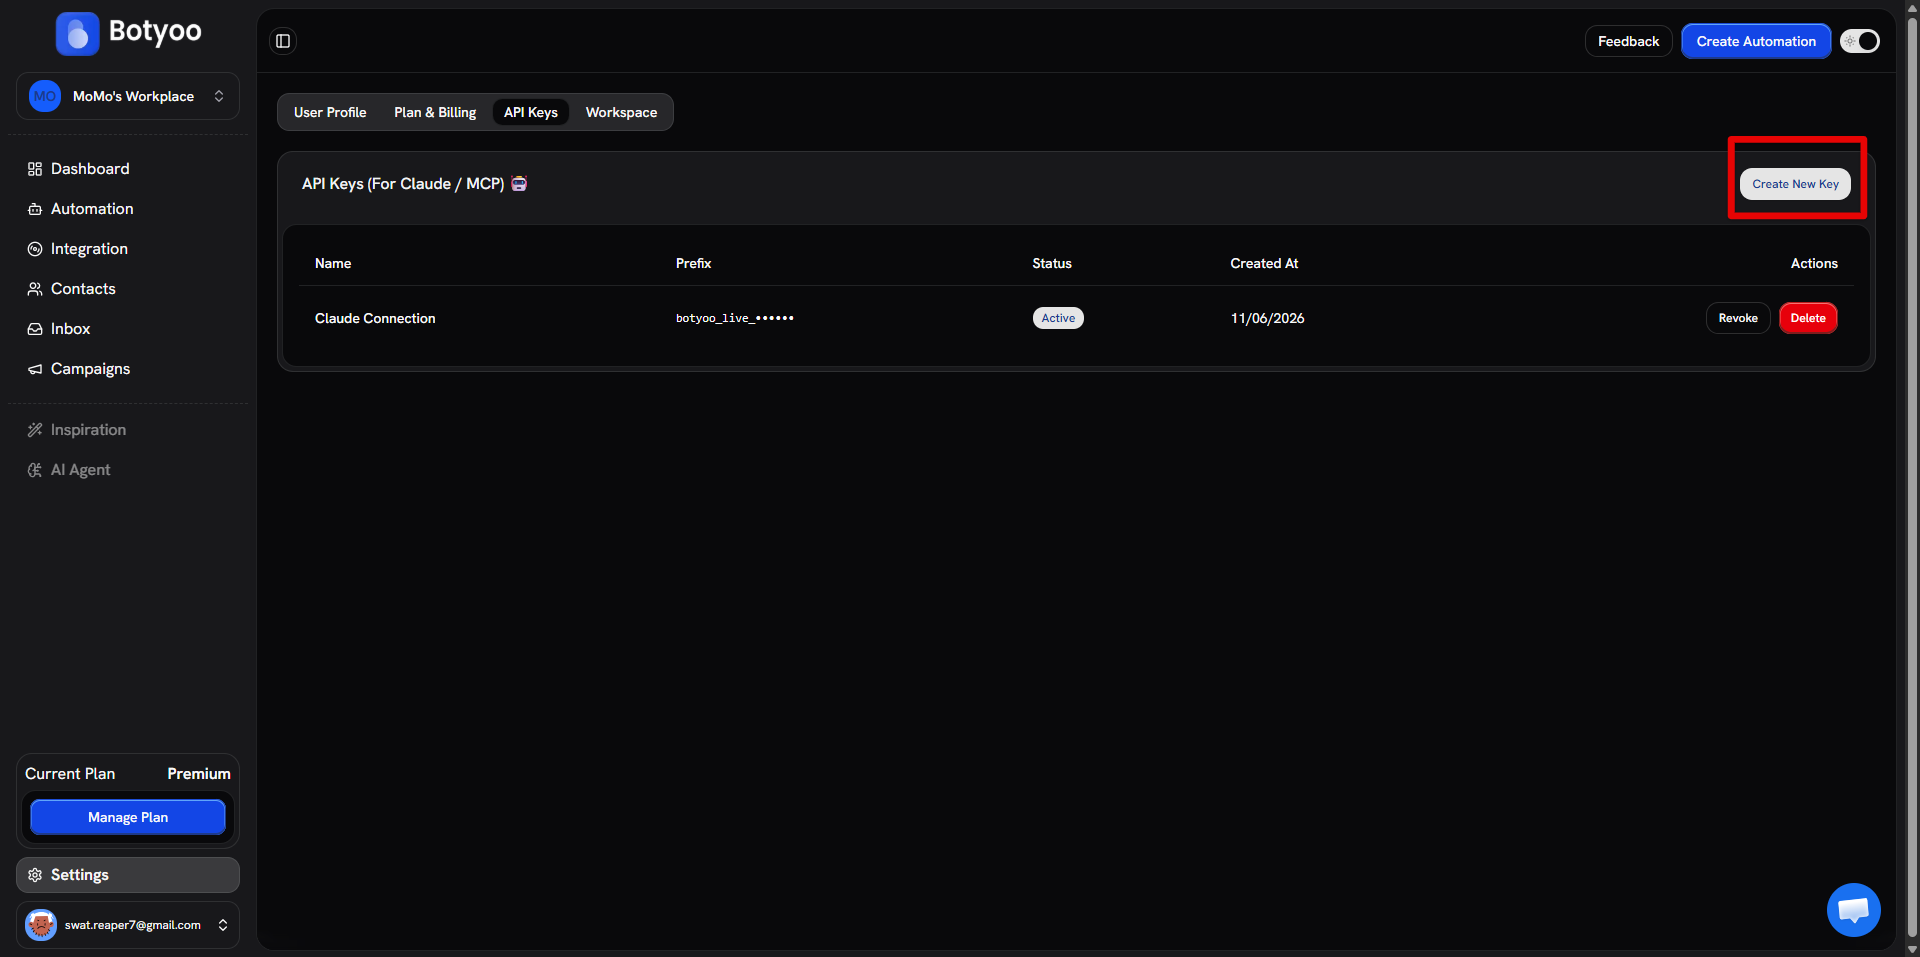
Step 3: Name the key
Pick a name that identifies where you’ll use it (e.g. “Claude Desktop”, “My script”).
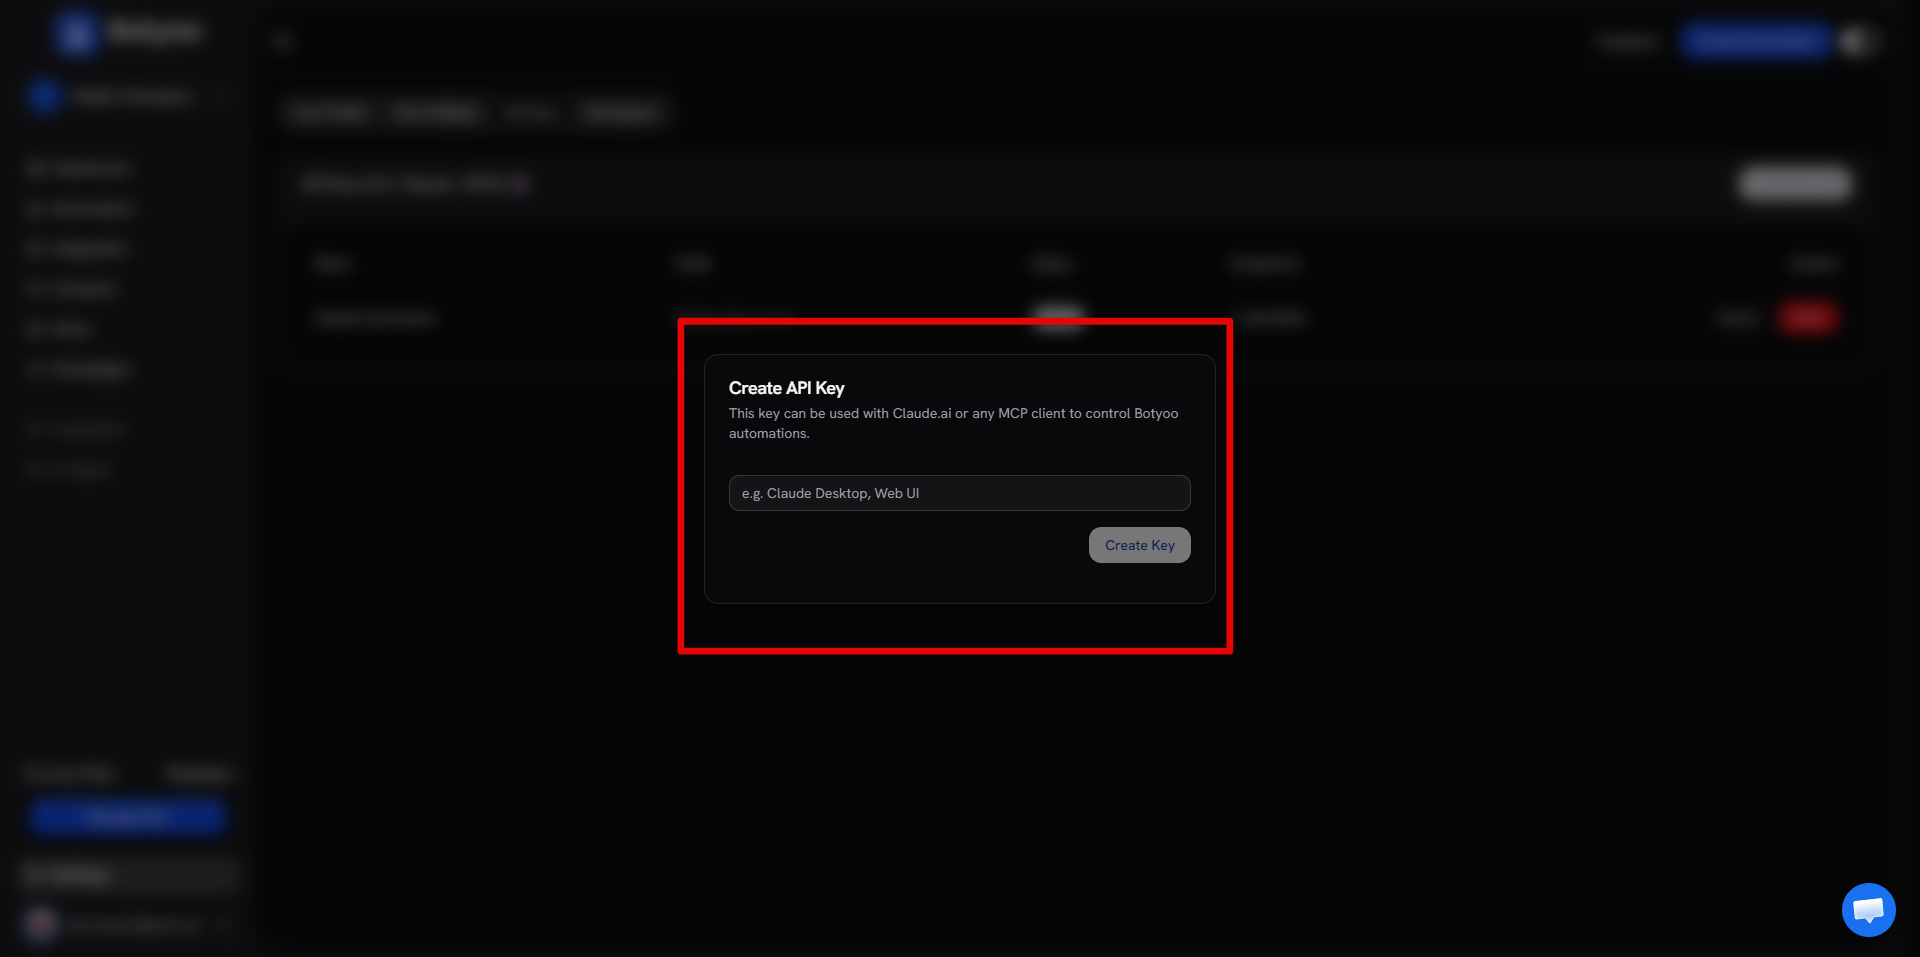
Step 4: Copy the key
Botyoo shows the key only once. Copy it now, if you lose it, you’ll have to create a new one.
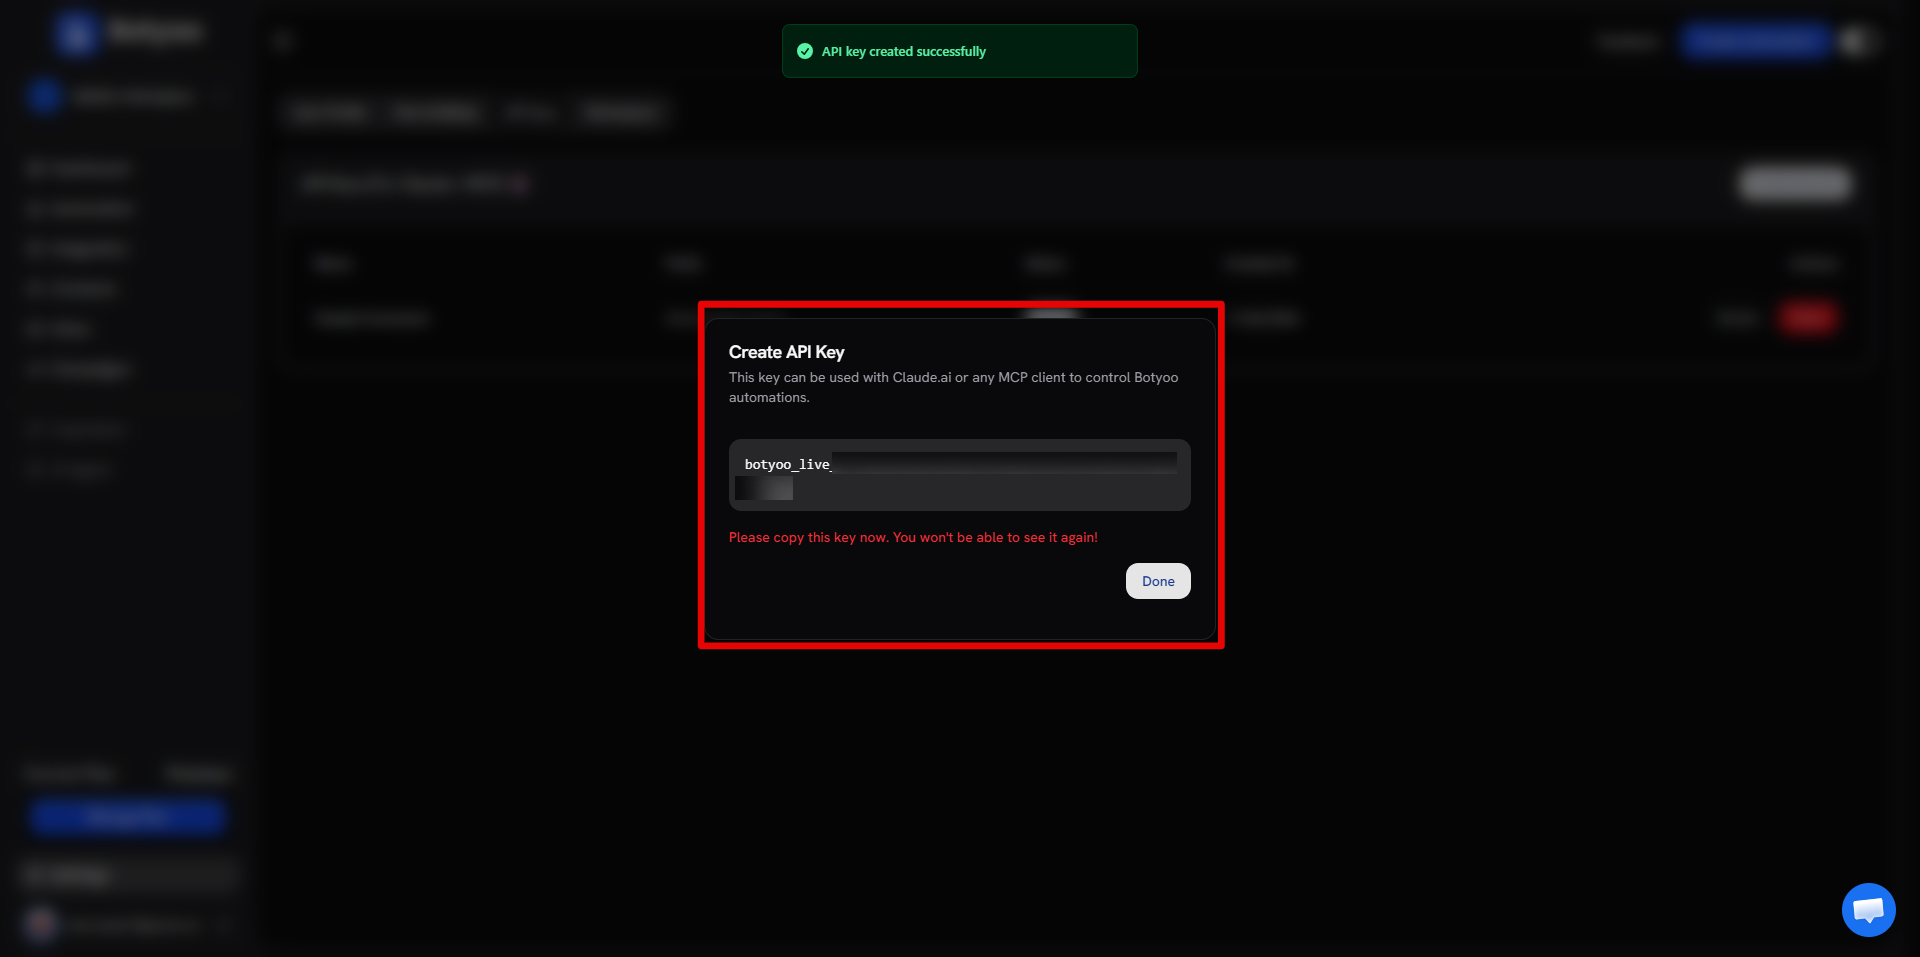
Step 5: Configure your MCP client
In Claude Desktop (or any MCP-capable client), open the MCP server settings and add a new server entry pointing to https://api.botyoo.com/mcp. Paste the key you just copied as the auth credential. Save and restart the client.
Step 6: Test the connection
Try a read-only command first: “Claude, list my workspaces” or “show my last 5 captured contacts.” Confirm Claude can read before giving it write commands.
Managing keys
The API Keys page lists every active key with a creation date. Revoke a key by clicking its delete action. Revoked keys lose access instantly.
Security tips
- Treat the key like a password
- Don’t paste it into a chat or ticket
- Don’t commit it to a git repo
- Rotate the key if you suspect it’s been exposed
What’s next
Was this article helpful?