
How to build a multi-step flow
Use the visual Flow Builder canvas to design conversations with delays and multiple messages.
On this page
How to build a multi-step flow
The Flow Builder is for automations that need more than one step, a delayed reminder, an image then a link, a multi-message nurture sequence.
Step 1: Open the Flow Builder
Click Create Automation, then pick Start from Scratch or any Flow-tagged template.
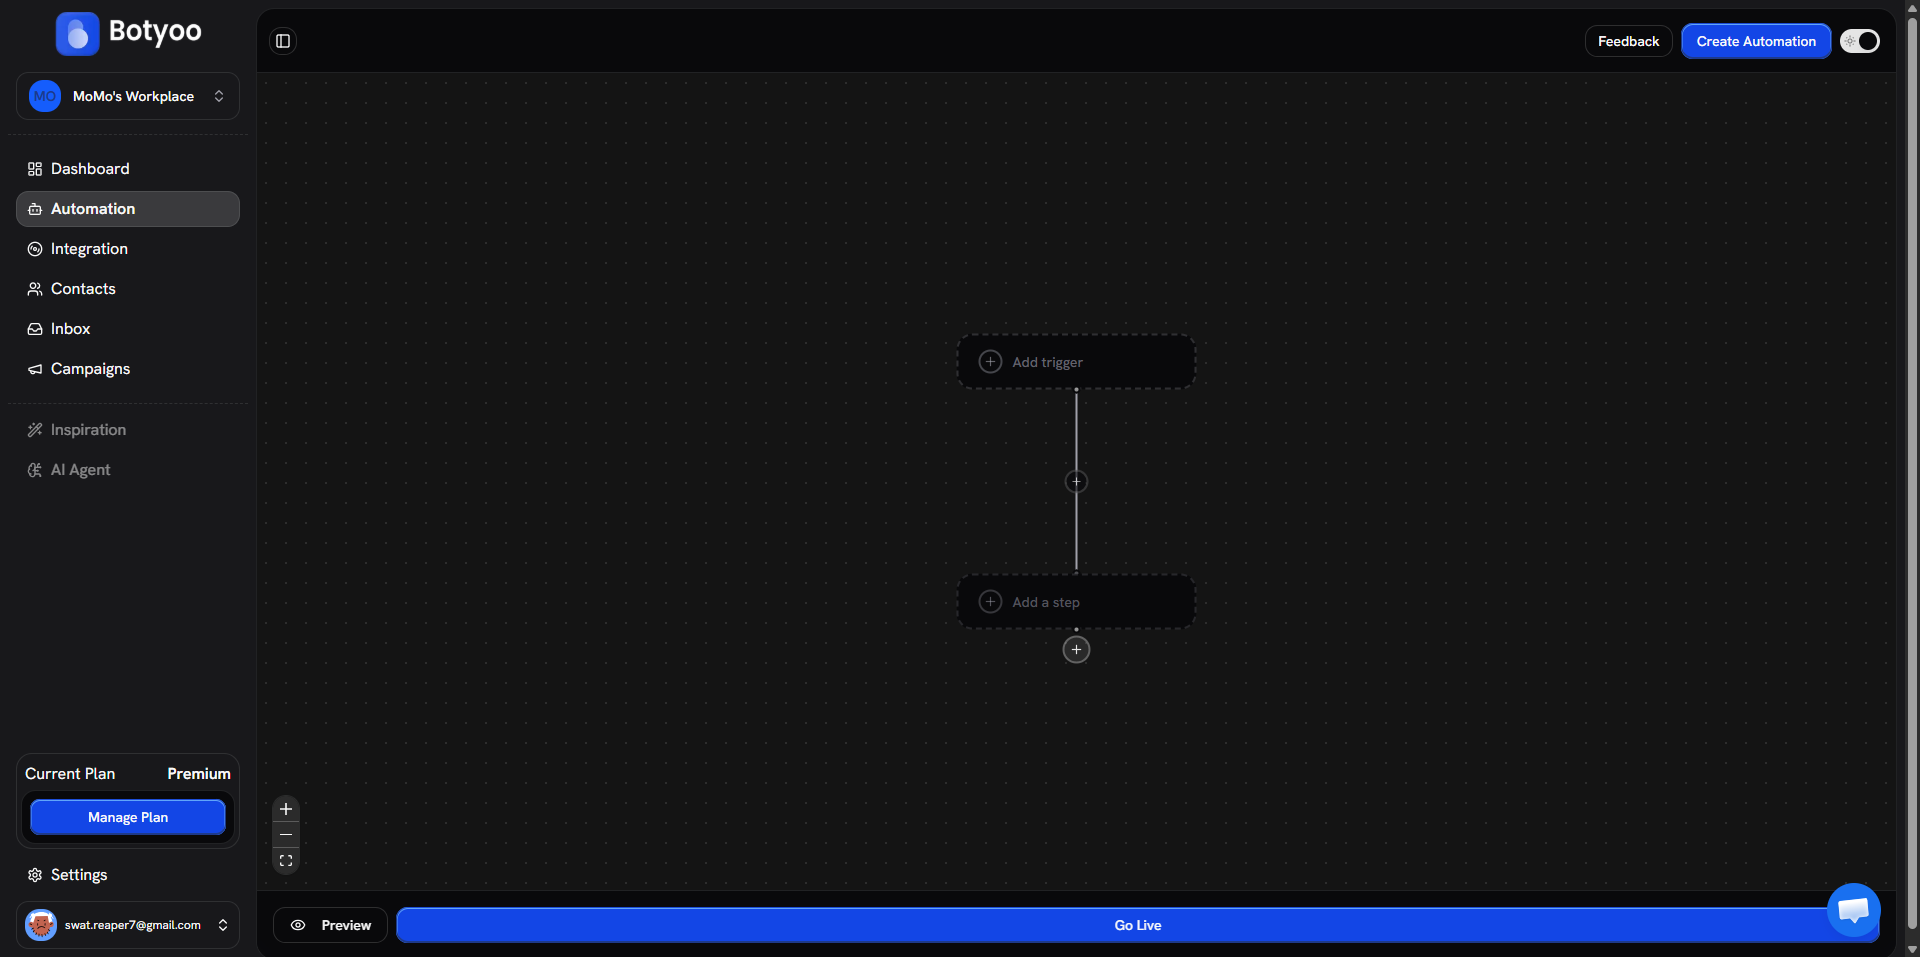
Step 2: Configure the trigger
The trigger card sits at the top. Pick a trigger type (Comment on post, DM received, Story mention, etc.) and configure filters inline.
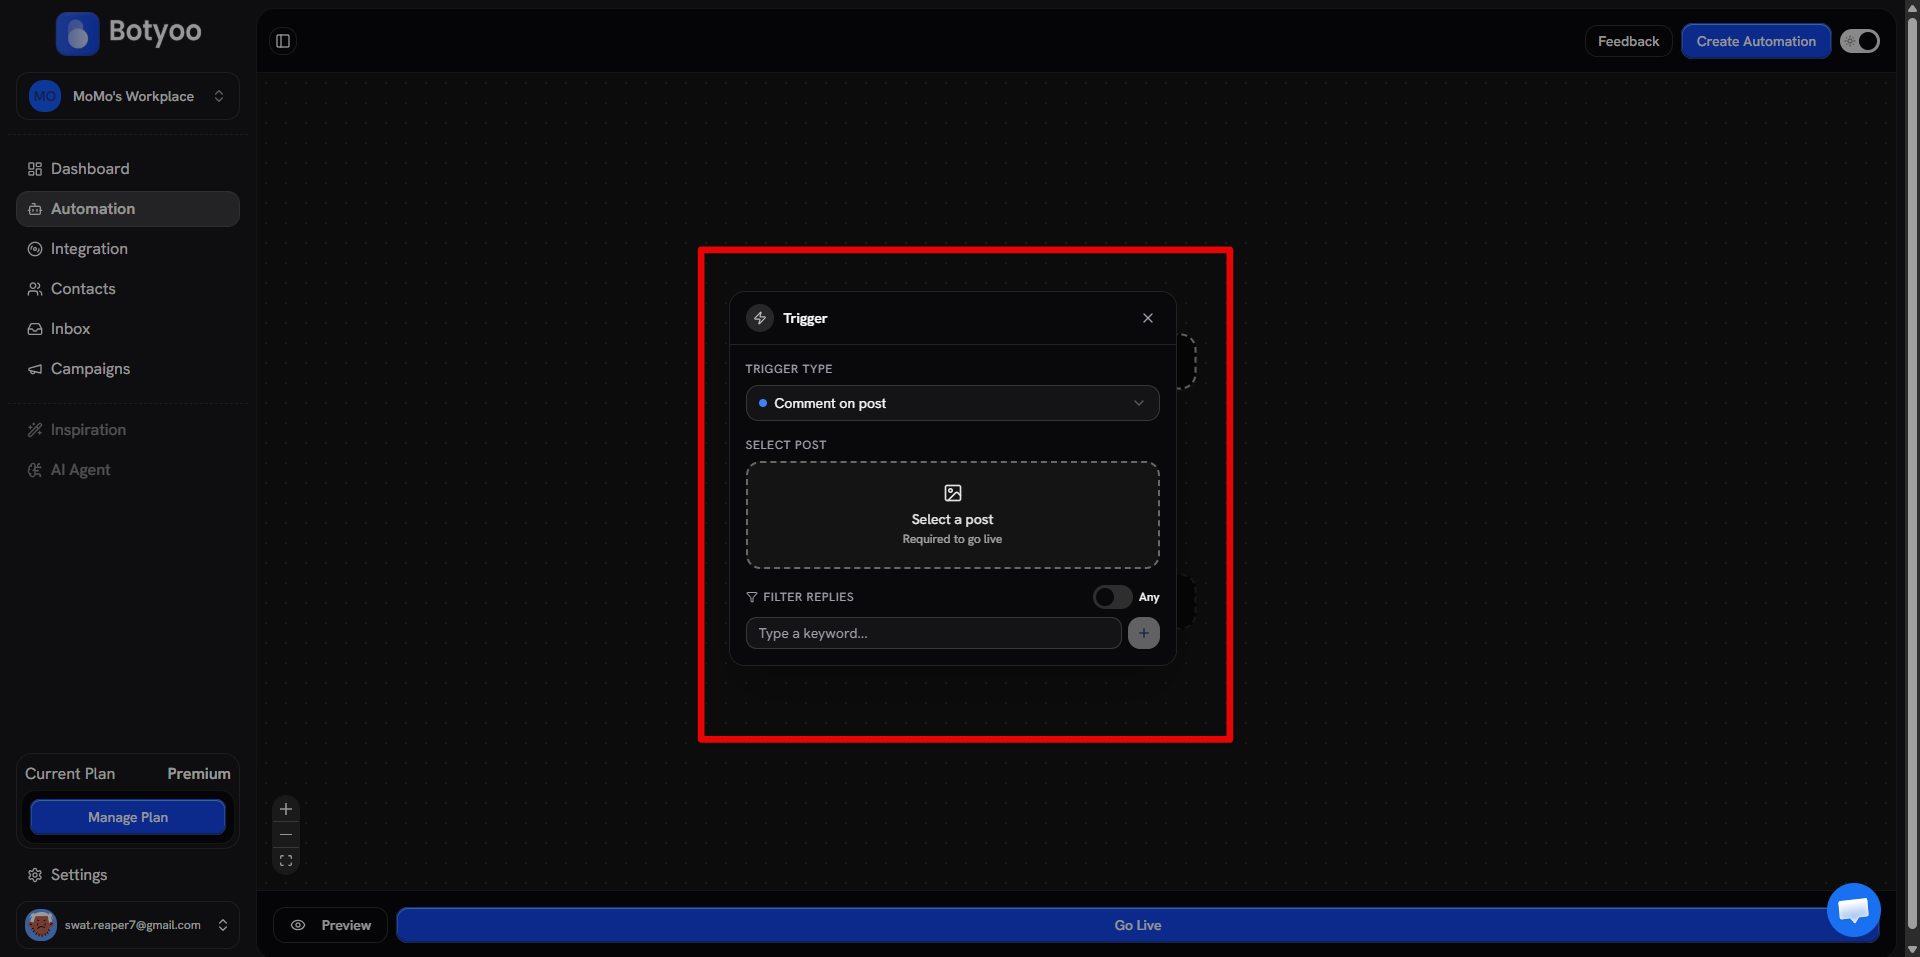
Step 3: Add the first step
Click the + button below the trigger. The step picker opens with six categories.
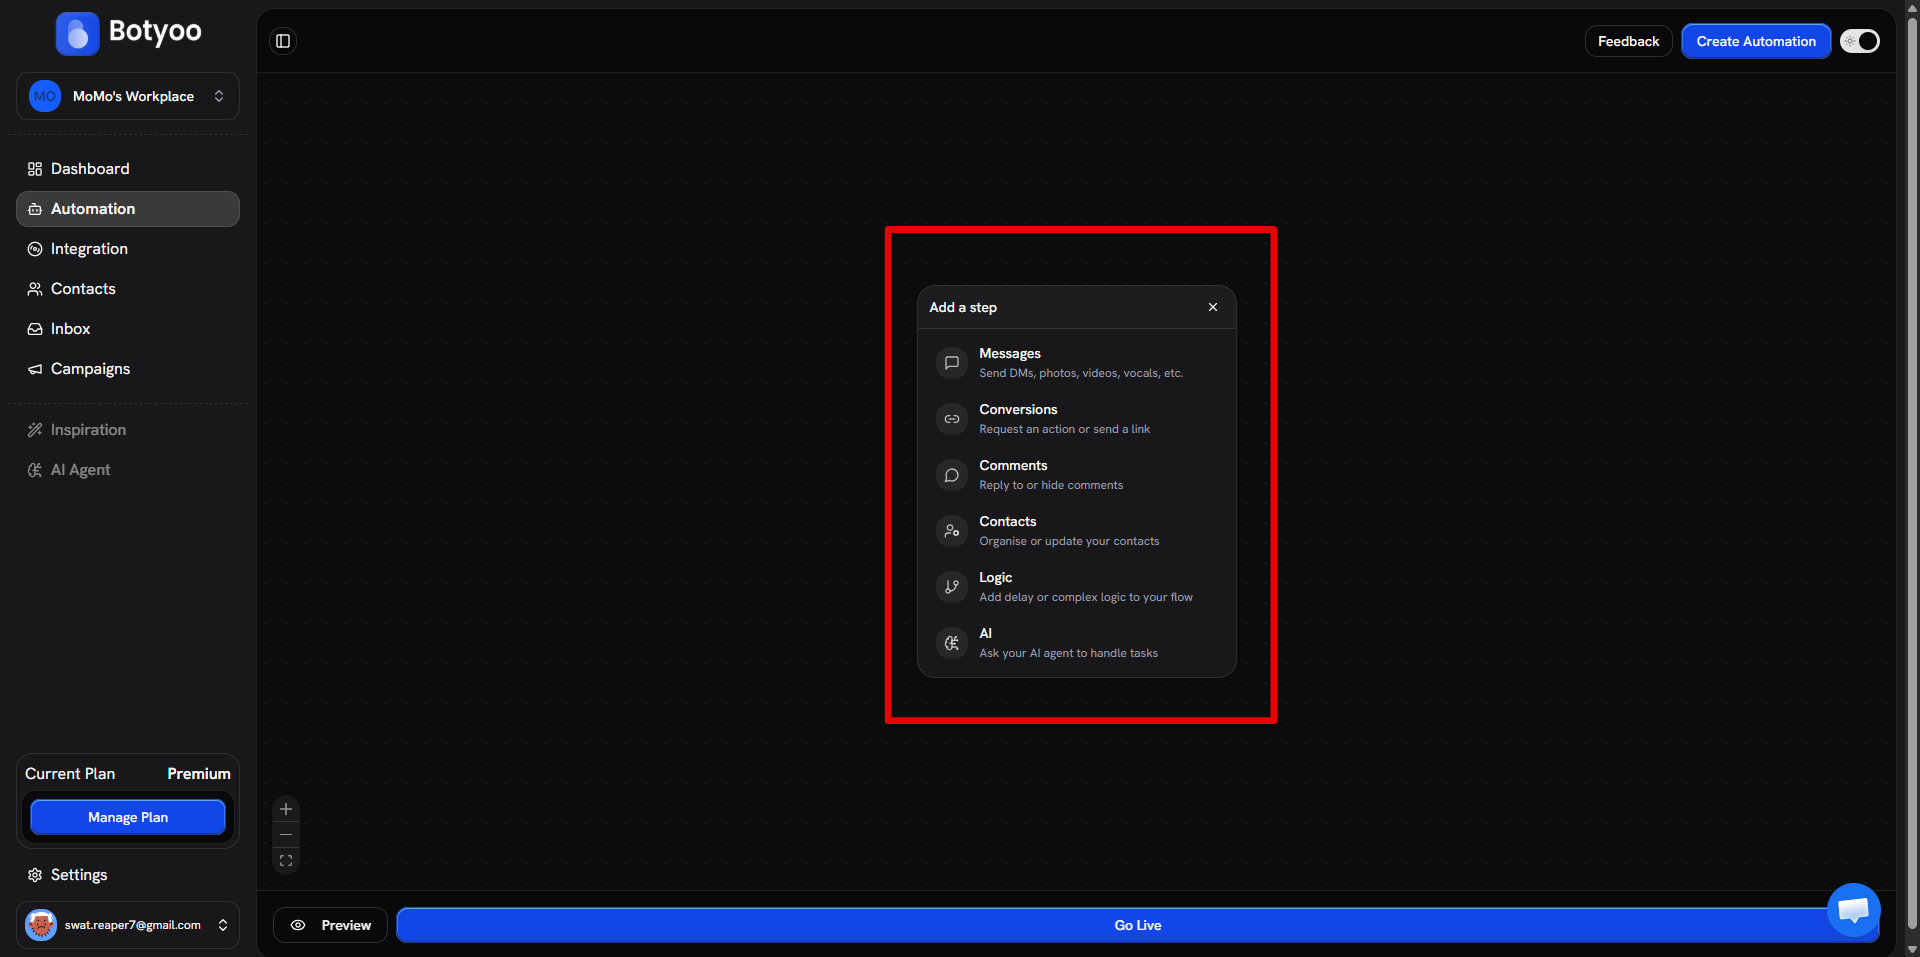
Step 4: Pick a step type
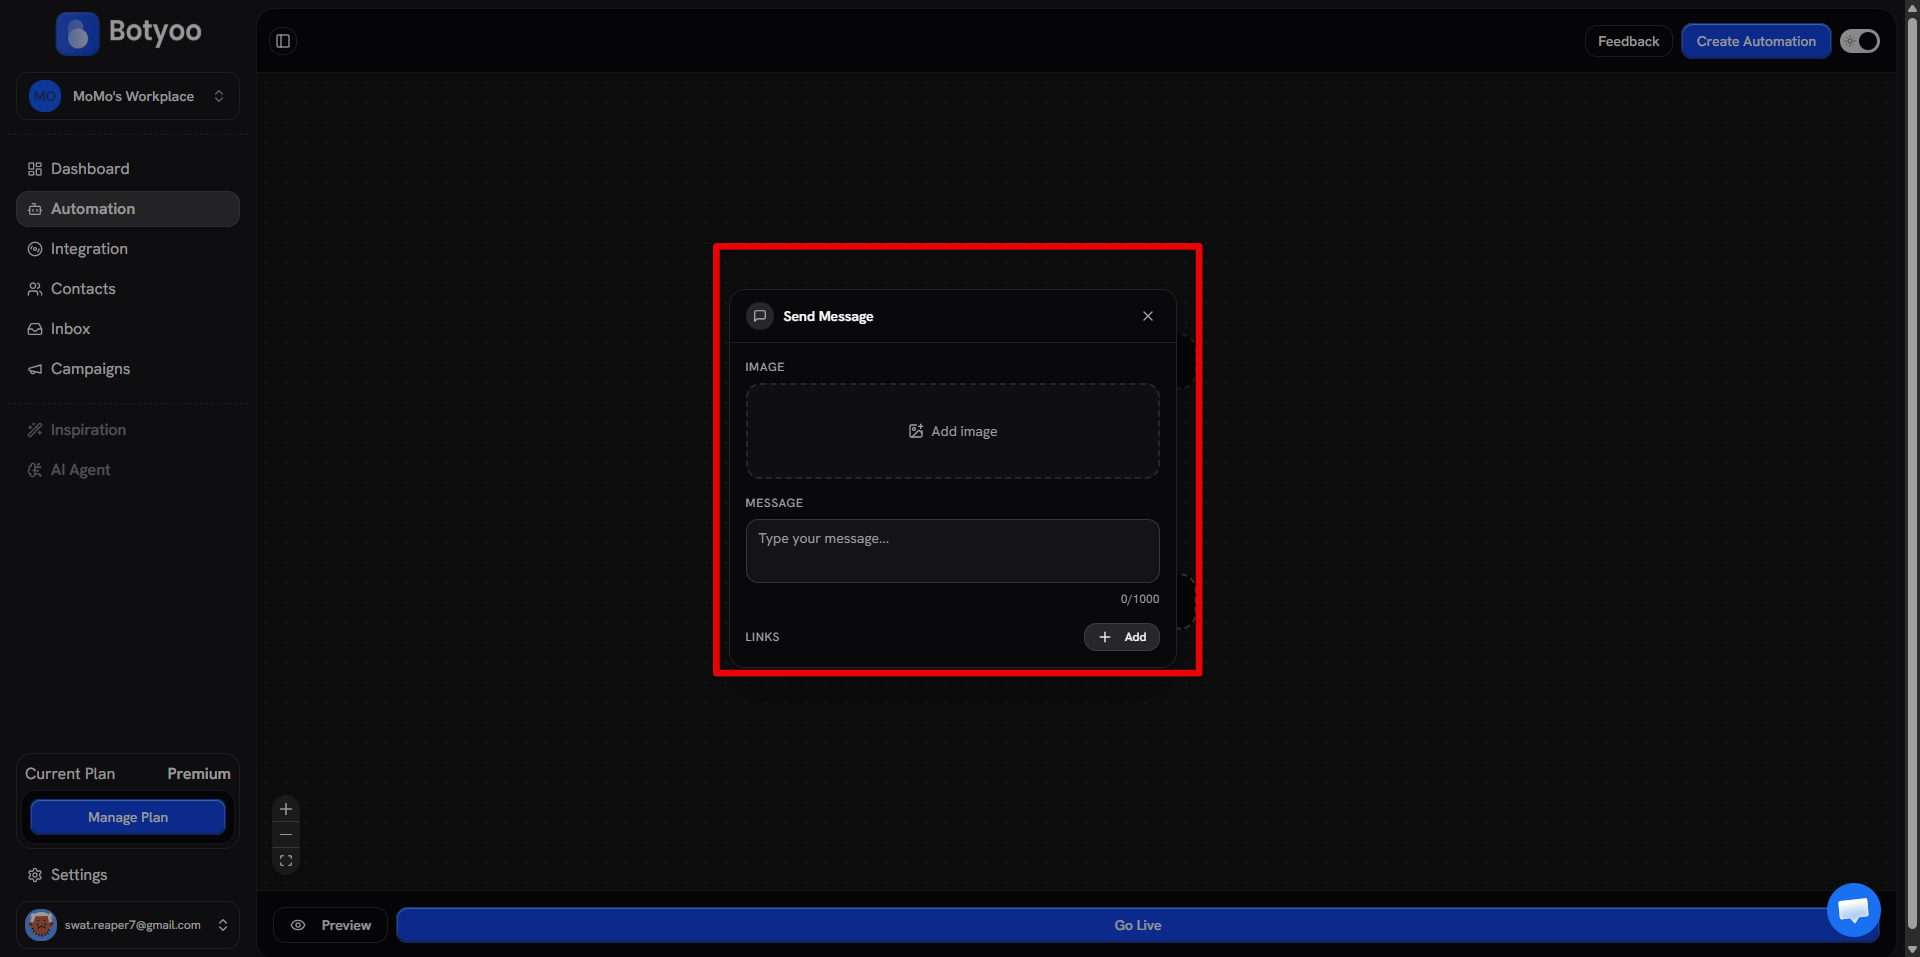
Choose Send Message under Messages for a simple text DM.
Step 5: Configure the step
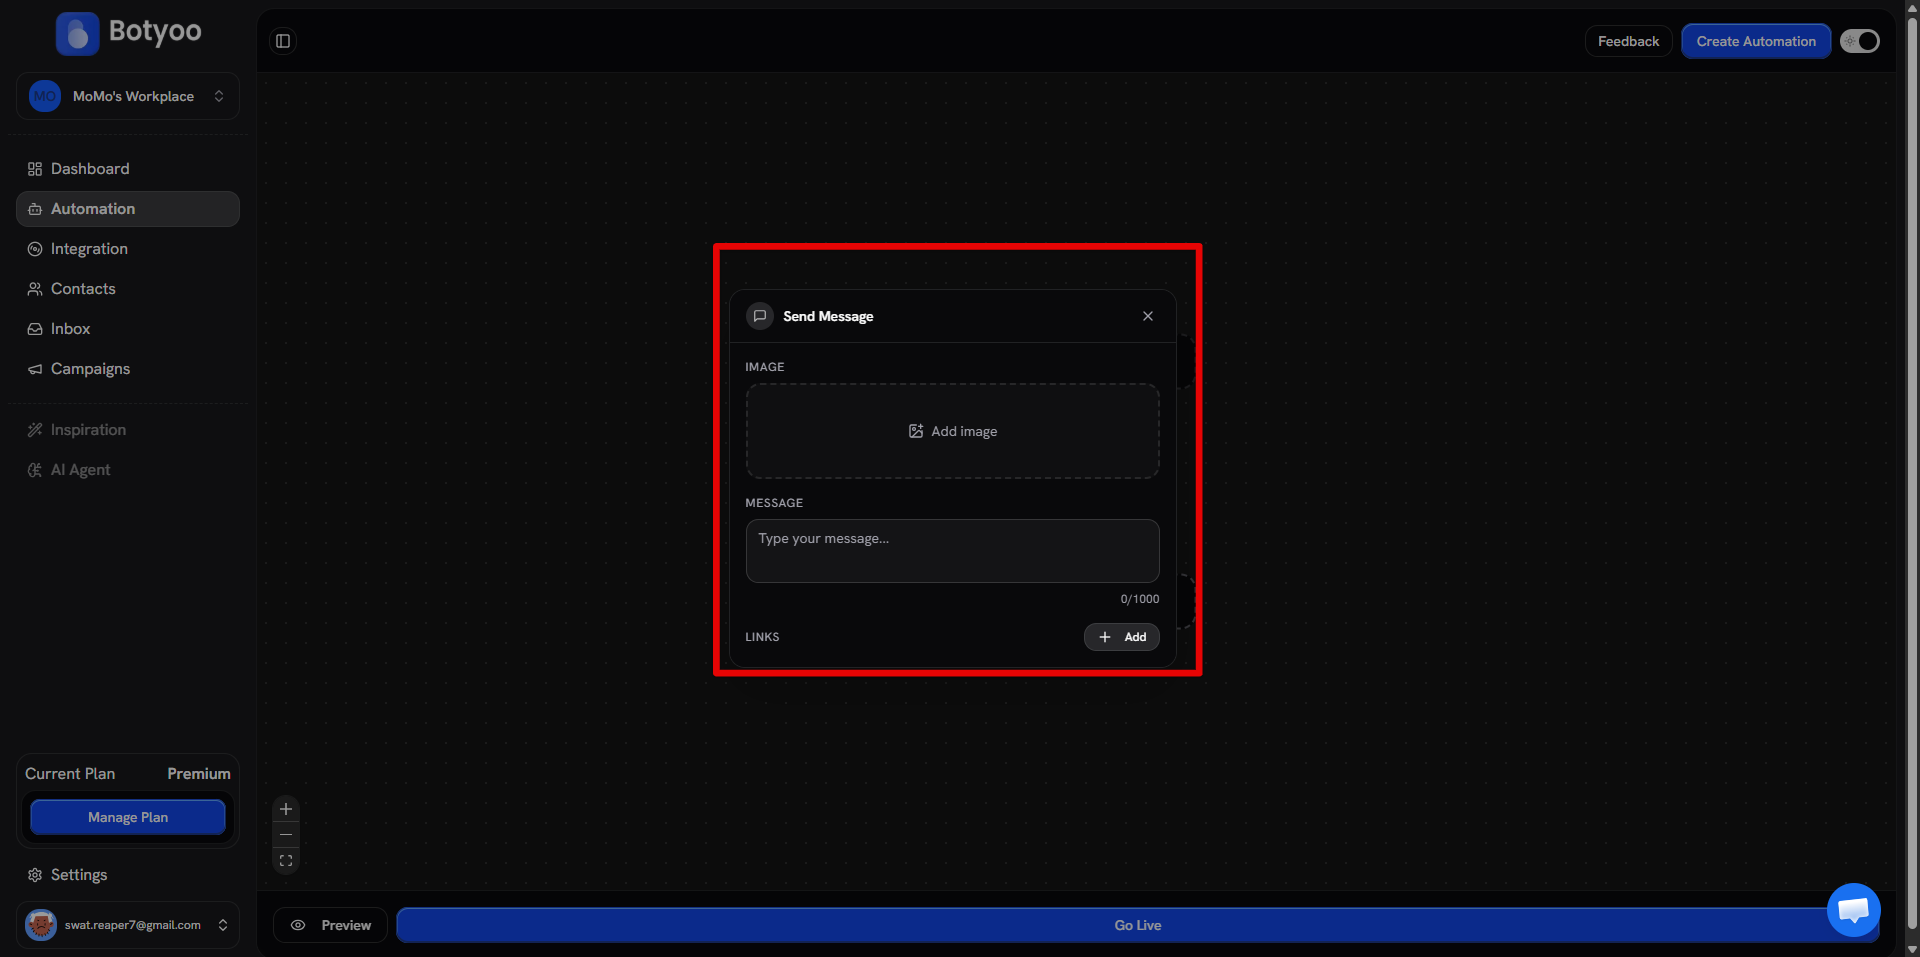
Write the message, add an image, add links, insert {{contact.name}} variables.
Step 6: Insert a delay (optional)
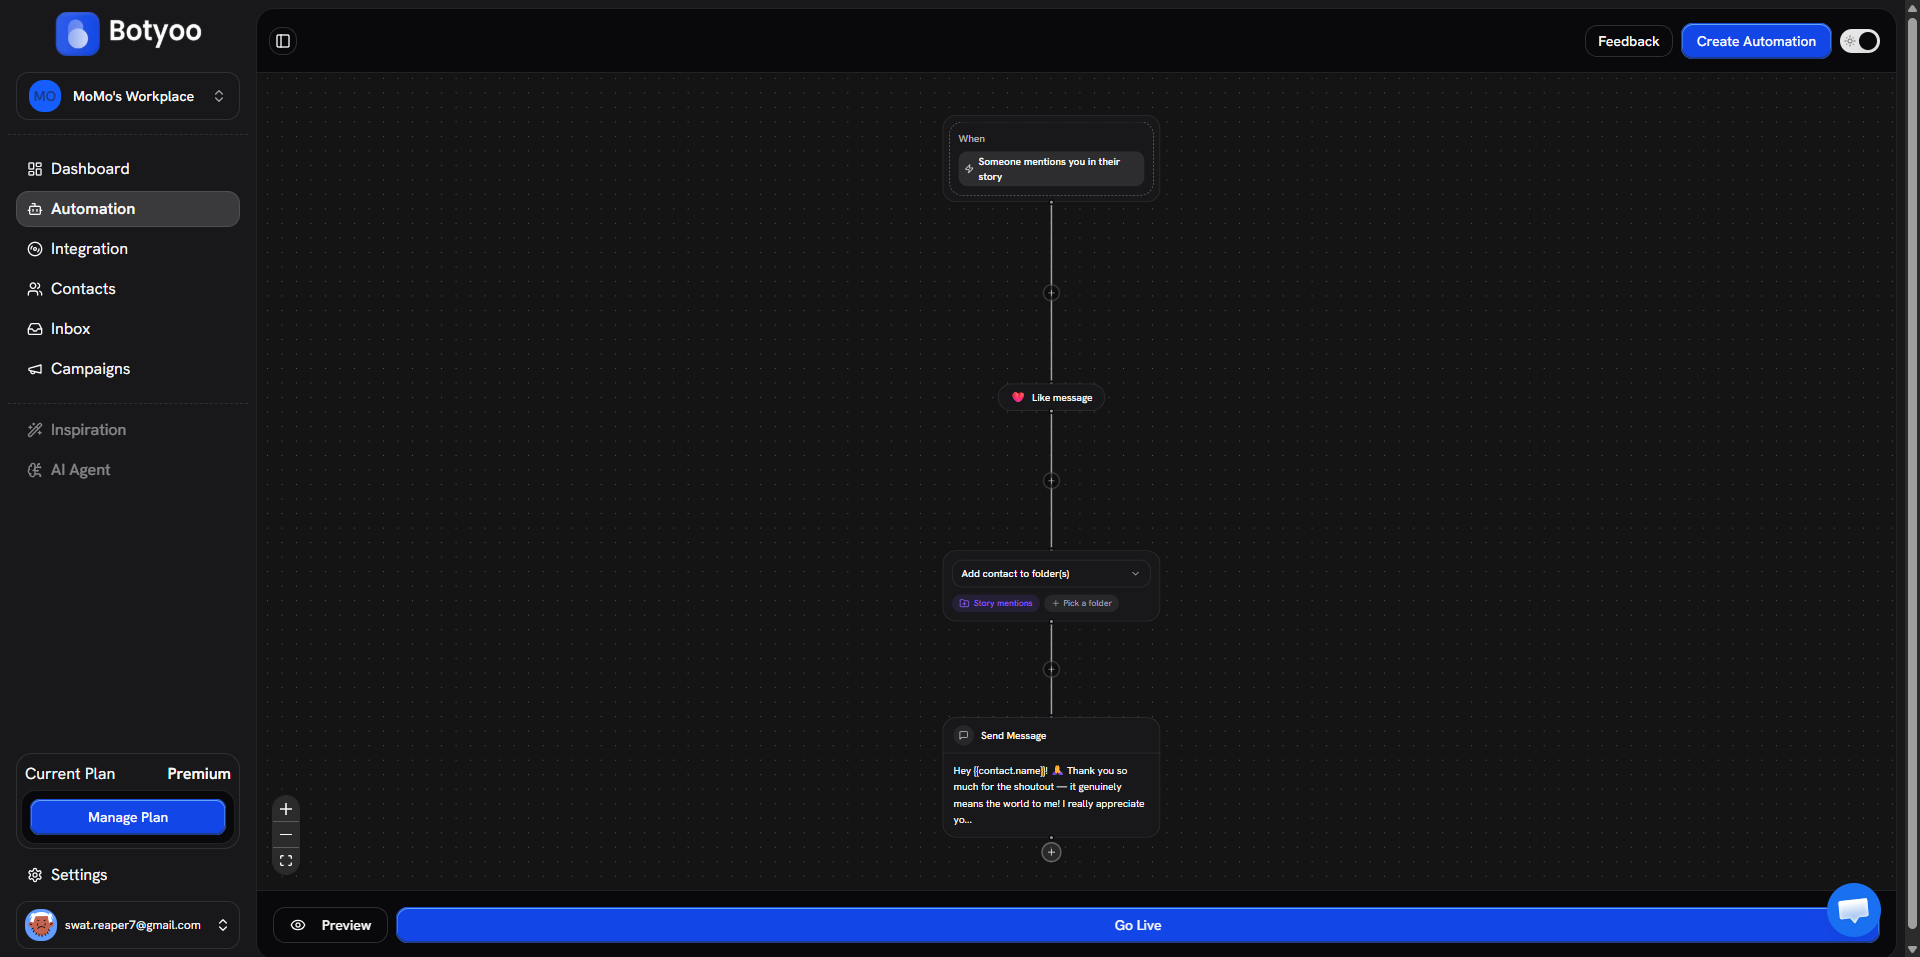
Click the + between two steps. From the step picker, pick Time delay under the Logic category. A delay card lands on the canvas with a number input and a unit dropdown (Minutes / Hours / Days), set both and the flow pauses for exactly that duration before continuing.
Step 7: Add the next message
Click + again, pick Send Message, write the follow-up.
Step 8: Save and activate
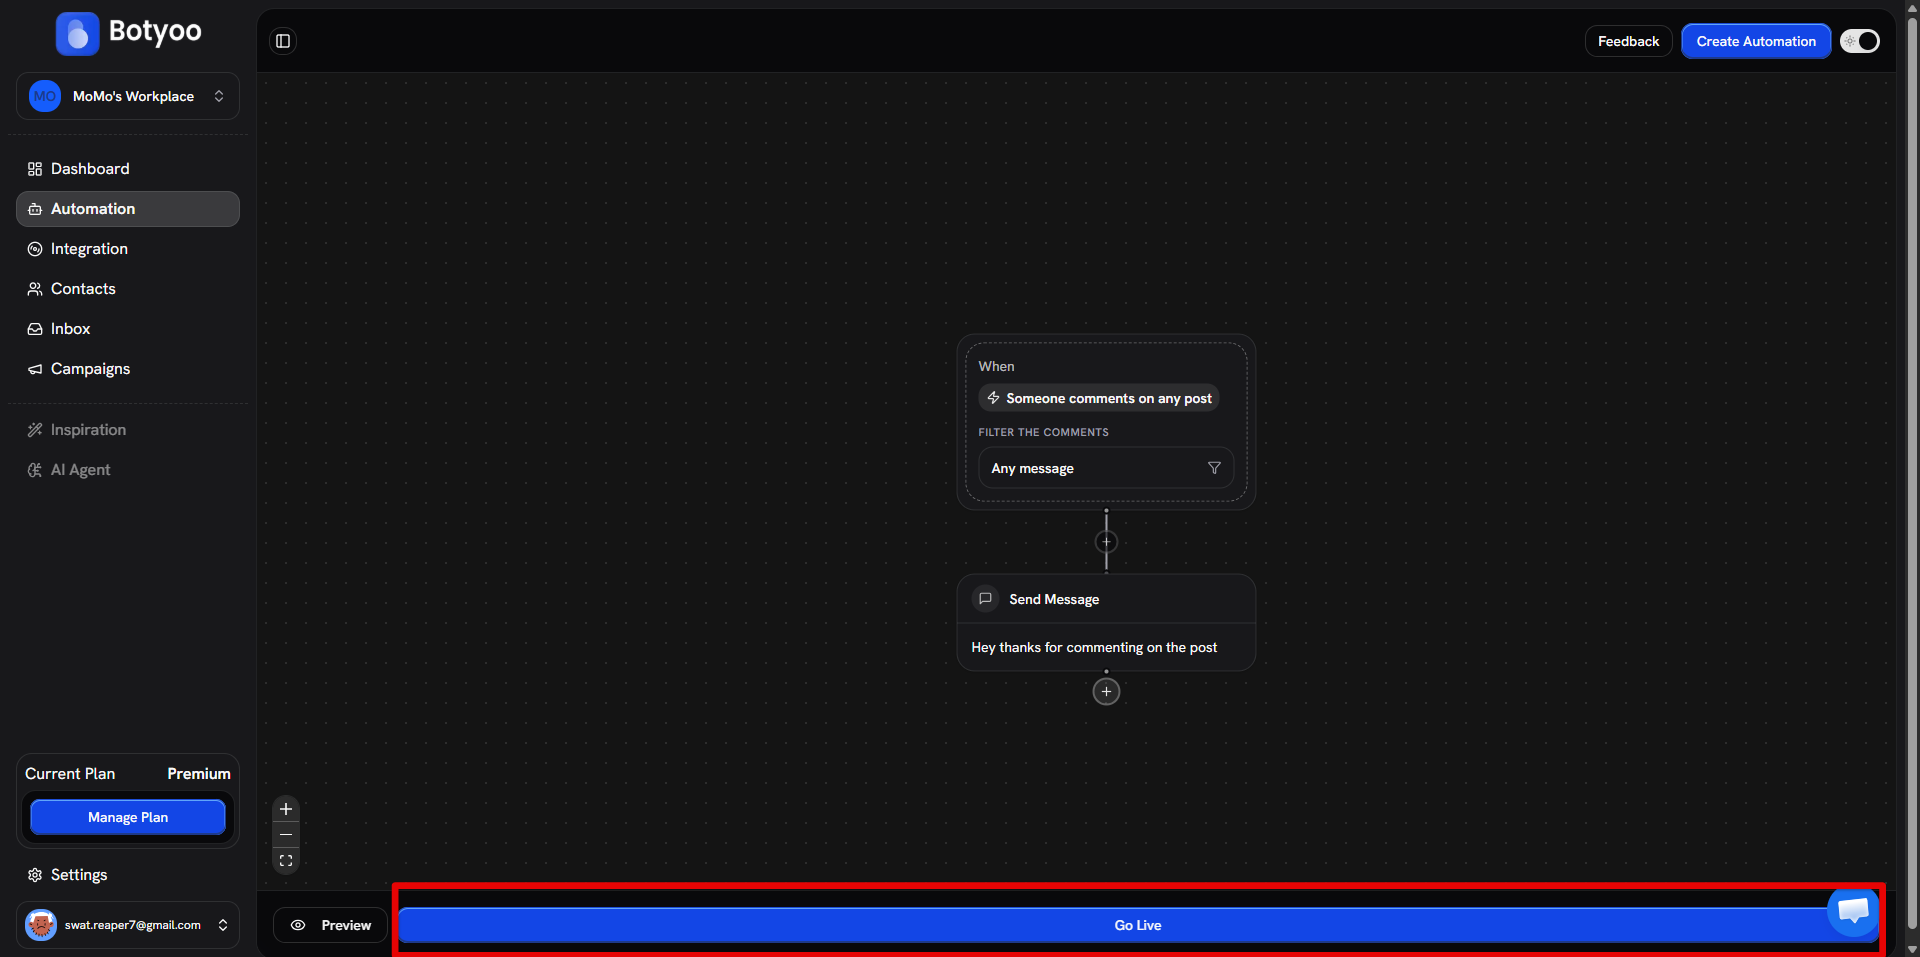
Save the flow as a draft. Toggle Active to start processing.
Variables
Flow Builder uses {{contact.name}} and {{contact.username}}, different from Campaigns which use {{name}}. See Variables in messages.
What’s next
Was this article helpful?